Tackling DIY projects can be challenging, especially if it’s not your forte. These tasks often end up consuming a significant amount of your precious free time to complete. So, to make things easier, here are 19 ingenious tool hacks that every DIY enthusiast should know.

Sanding can be one of the most boring parts of completing any DIY and can use up a lot of your energy. Empire Abrasives has a tip on cleaning sandpaper with water and laundry detergent so you can reuse it. Also, ditch any traditional sand blocks and opt for PVC pipe sanders that will do the physical work for you.
Gluing Techniques

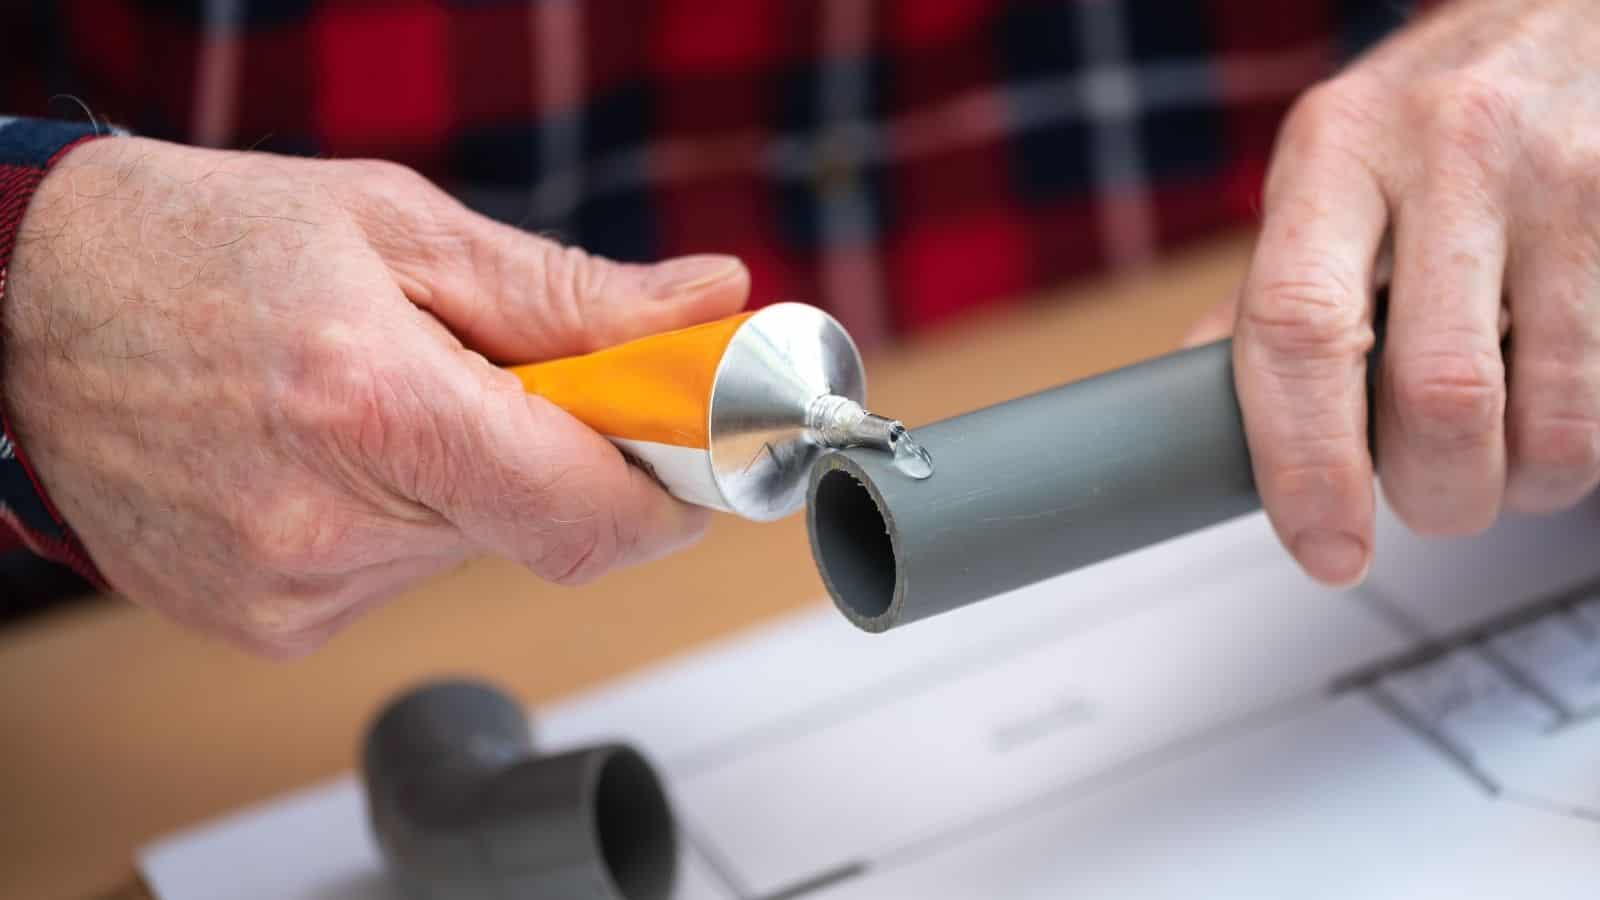
Gluing can be a sticky subject. It’s a skill you need to perfect, or you’ll find that you have created more work for yourself. Always start by ensuring surfaces are perfectly clean and dry for best adhesion. It’s also important that you’re using the best glue for the material, as some will work better than others.
Optimize Your Measuring Tools

Family Handyman confirms that it can be quite difficult to mark cuts on curved surfaces. Use a length of angle iron to create touch points on a cylinder. If you require a measurement, then place a tape measure on top of the flat part of the angle iron.
Miter Saw

Using a stop block on your miter saw will ensure you have uniform cuts each time without having to measure, saving you precious time. Cleaning a miter saw after any DIY can be the worst part. To limit this, you can attach a simple DIY dust collector using PVC pipes.
Tool Storage

It’s very important to create proper storage for your tools for future use. After a long day of DIYing, you would be forgiven for just chucking your tools down and relaxing. However, this can cause headaches when you need to find the tool next time and are struggling.
Quick Fixes

Not every bit of DIY needs to be a lengthy job, and some things just need a quick fix. Use WD-40 to help loosen any stuck parts, and for any quick patch-ups, use duct tape. Also, utilizing household items such as vinegar and baking soda can help clean messy surfaces after DIYing.
Smart Marking Techniques

You have to be smart with marking, depending on what material you’re working with, as you don’t want it to rub off. You should use grease pencils on glossy surfaces and fine markers on dry walls. Having a different set of colored chalk can also help with quick marking that can easily be erased.
Perfect Your Painting

Painting can be a nervy chore, as one mistake can be costly and difficult to rectify. When painting sharp lines, it’s essential that you use painter’s tape. If any mistakes are made, they won’t show up anywhere they shouldn’t. Also, you should always thoroughly stir your paint before using it to ensure it’s the correct consistency.
Wiring

You probably have a lot of cords and cables in your workshop, and finding what you need can sometimes be difficult. Your best option is to label your cords and have hooks or clips for easy access. Also, always be sure to check that the wires on your electrical items haven’t frayed before every use.
Save Space

If you have a lot of tools or a smaller workshop, then saving space can help you complete your work efficiently. You can build or modify your workbench so it can fold away against a wall. Using transparent storage boxes is a great way to keep things stored, but easy to find when you need them again.
Precision Drilling

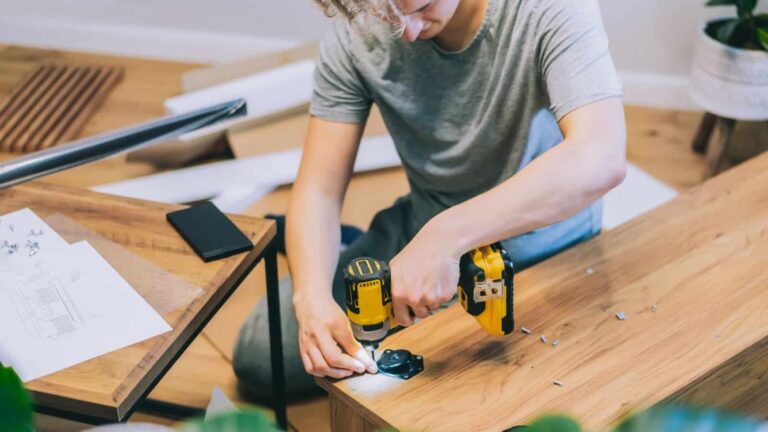
According to Huana, “It is commonly seen that making a hole using a hammer may cause the nearby areas of the hole to get cracked; thus, one of the most reliable methods to make a hole is drilling.” Don’t forget to make sure you’re using the correct size drill bits for the hole you require.
Efficient Handling

If you’re DIYing on your own, you want to make sure you’re handling the object you’re building safely to avoid any injury to yourself or damaging the item. One of the best ways to do this is by investing in a furniture dolly. This makes it easier to transport heavy objects in a controlled way.
Upgrade Your Workbench

Having the right workbench that’s tailored to your level of DIYing is important. You want your workbench to help you and not hinder you. Purchasing or modifying a workbench that has draws can be handy, as it’ll give you quick access to tools or items you need.
Garden Modifications

Making changes to your garden can make gardening more efficient. A few tips—use PVC pipes to create vertical planters to save on space, and store garden tools in oiled sand, as this will prevent them from rusting and keep blades sharp for future use.
Lighting Upgrades for Better Visibility

Better lighting may allow you to do your DIYing in the evenings, so you can still have the weekends to yourself. LED strip lights are great for hardly taking up any space and can simply be placed under shelves or cabinets. Also, using portable lights can allow you to position them exactly where you need them for clear visibility.
Clamping Strategies

According to BR Fine Woodworking, “One way to extend the reach of the clamps that you already have is to simply hook two clamps together.” This method should work with most clamps and prevent you from having to purchase a different size. It’s possible to do it on your own, but help from someone else will make it easier.
Noise Reduction Techniques

Other family members or neighbors may not be the biggest fans of your DIYing due to the noise it makes. You can install soundproofing panels in your workshop, which will significantly reduce any noise. Also, using anti-vibration mats will reduce noise levels while protecting your tools from being worn.
Heating Solutions

Even for the biggest DIY lover, doing any DIY in the winter can be a chore. However, there are heating solutions to allow you to DIY in the warmth all year round. One option is to install radiant floor heating in your workshop, or another is to use portable heaters, as these will warm up small places quickly.
Eco-Friendly Practices

You might be conscious of the effect your DIY has on the environment, but there are plenty of eco-friendly ways to DIY. First of all, you could look into solar panels to keep your workshop lit and opt for natural or nontoxic cleaners. Also, using reclaimed wood or recycled items will minimize waste.

